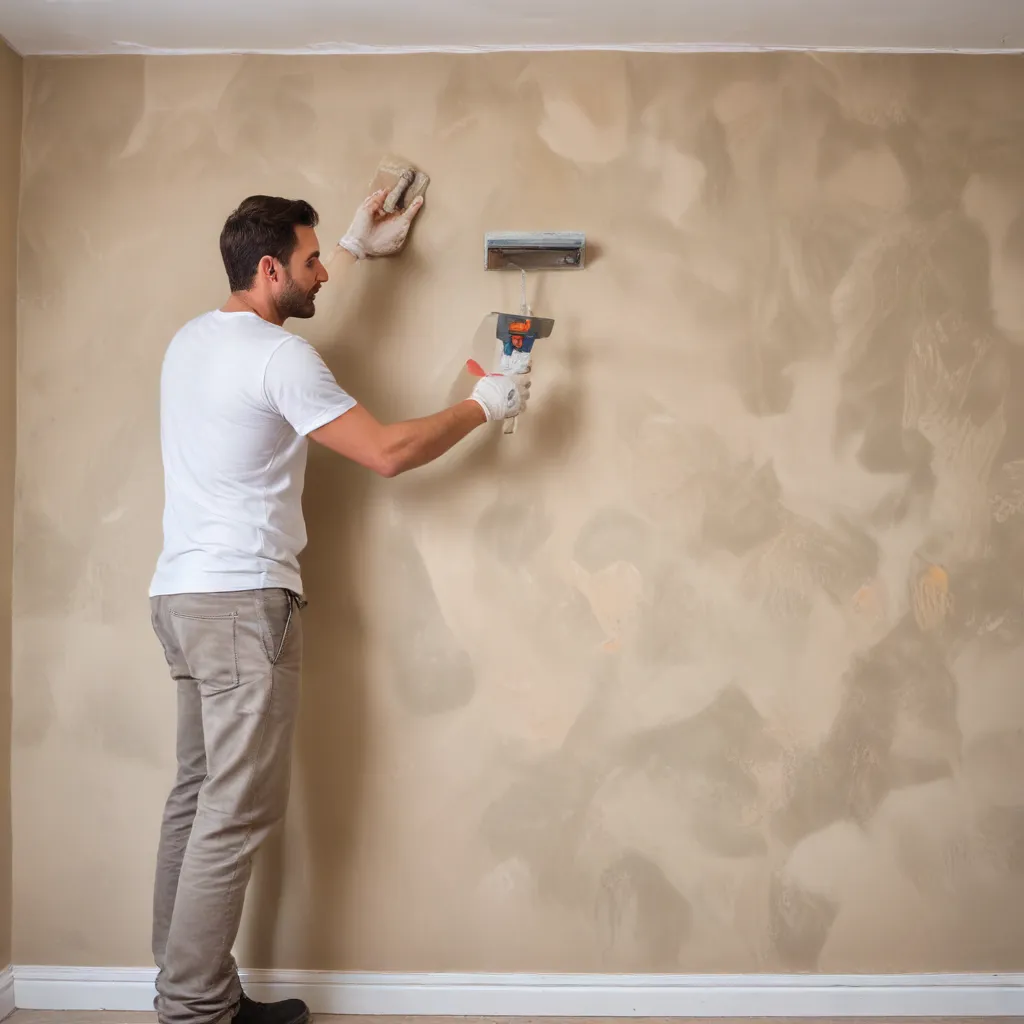
As an experienced builder in Southend, I’ve had the pleasure of transforming countless homes with my plastering expertise. If you’re considering tackling a DIY plastering project, let me share some insights that will help you achieve a stunning, professional-quality finish.
The Joys (and Challenges) of DIY Plastering
I absolutely love a good DIY project – there’s nothing quite like the satisfaction of seeing the fruits of your own hard work. And when it comes to plastering, I’ve tackled my fair share of jobs, both for clients and in my own home renovations.
Now, I won’t sugarcoat it – plastering isn’t the easiest task in the world. It takes skill, patience, and a willingness to get a little (or a lot) messy. But I’ve found that with the right techniques and a bit of practice, even a DIY novice can produce results that rival the work of seasoned professionals.
One of the biggest advantages of DIY plastering is the cost savings. Hiring a plasterer in Southend can be a significant investment, but by taking on the job yourself, you can pocket those funds for other aspects of your home improvement project. Of course, there’s also the immense satisfaction of being able to say, “I did that!”
Preparing for the Perfect Plaster
Before you start slapping on that first layer of plaster, there’s some important prep work to consider. First and foremost, safety should be your top priority. Plastering can be a dusty business, so make sure you’ve got the proper respiratory protection and eye wear. Trust me, you don’t want to be breathing in those fine particles.
Next, take a close look at the surface you’ll be plastering. Is it smooth and even, or are there any cracks, holes, or uneven areas that need to be addressed? Properly preparing the base is crucial for achieving a seamless, professional finish. If there are any problem spots, use a filler or spackle to even things out.
And don’t forget to plan for the cleanup! Plastering can get messy, so have plenty of drop cloths, rags, and a trusty vacuum at the ready. It’s also a good idea to seal off any doorways or vents to contain the dust.
Mastering the Art of Mixing and Applying
Now for the fun part – actually putting that plaster on the wall! This is where the real magic happens, and it’s also the stage where many DIYers can get intimidated. But fear not, my friends, I’ve got your back.
First up, mixing the plaster. It’s all about finding the right consistency – not too thin, not too thick. I like to start with a small batch and adjust the water ratio as needed. The goal is a smooth, creamy texture that spreads easily without dripping or sagging.
When it comes to applying the plaster, technique is key. Start by laying down a thin, even base coat, making sure to work the material into any nooks and crannies. Then, let that initial layer dry completely before moving on to the second and final coat.
The key to a flawless finish is all in the smoothing and leveling. Take your time, and use a variety of tools – from wide knives to sanding blocks – to get that surface as flat and uniform as possible. And don’t be afraid to go over it a few times, blending and feathering the edges until it’s absolutely perfect.
Overcoming Obstacles and Embracing the Imperfections
Now, I’d be remiss if I didn’t mention that plastering isn’t all sunshine and rainbows. There will be challenges along the way – uneven surfaces, stubborn patches, and the occasional mishap. But that’s all part of the journey, my friends.
One common issue I’ve encountered is dealing with old, painted surfaces. The key is to thoroughly score and prime the area before applying your plaster. This helps the new material adhere properly and prevents any unsightly cracking or peeling down the line.
And let’s not forget about those pesky corners and edges. They can be a real pain to get just right, but with a little practice and the right tools, you’ll be a corner-smoothing pro in no time. Don’t be afraid to get creative with sanding blocks, foam wedges, and even your trusty finger.
Perhaps one of the most important lessons I’ve learned, though, is to embrace the imperfections. After all, what’s the fun in a completely flawless finish? Those tiny bumps and nicks add character and remind you that this is your own handiwork. So, don’t sweat the small stuff – just enjoy the process and take pride in your hard-earned DIY skills.
The Finishing Touches and Beyond
Once you’ve got that smooth, even plaster surface, it’s time to start thinking about the finishing touches. Whether you opt for a simple matte paint or a textured wallpaper, the options are endless. And let me tell you, there’s nothing quite like seeing your handiwork transformed into a beautiful, polished space.
Now, I know what you’re thinking – “But Mel, what about maintenance and upkeep?” Fear not, my friends, I’ve got you covered. Properly cared for, your DIY plasterwork can stand the test of time. Regular cleaning, minor touch-ups, and the occasional re-painting will keep your walls looking their best for years to come.
And you know what they say – practice makes perfect. The more plastering projects you tackle, the more confident and skilled you’ll become. Who knows, you might even find yourself taking on bigger and more ambitious home improvement jobs down the line. The sky’s the limit when you’ve got a little DIY know-how under your belt.
So, what are you waiting for? Grab your tools, mix up that plaster, and get ready to transform your Southend home into a masterpiece. With a little elbow grease and a whole lot of determination, you can achieve professional-grade results that will have your friends and neighbors green with envy. Happy plastering, my fellow DIY enthusiasts!

